5 - Excellent Based on 3 Reviews | More reviews on TripAdvisor
Customize Short Everest View Trek- 6 Days
The Short Everest View Trek offers the ultimate opportunity to witness the majesty of Mount Everest in just a few days. Walk through picturesque Sherpa settlements, explore traditional mountain culture, and enjoy panoramic views of the world’s highest peaks. Ideal for travelers with limited time, this trek delivers a truly memorable Everest experience in a short adventure.
Destination Tengboche
Start/End Kathmandu/Kathmandu
Trip Difficulty Moderate
Maximum Elevation Tangbuche(3,890mtr)
Activities Trekking and village walking
Best Season Sep to Dec and Feb to June
Meals Breakfast / Lunch / Dinner
Accommodation Hotel/lodges
Transportation Aeroplane and Car/Jeep
Short and Easy Everest View Trek Highlights: Highlights
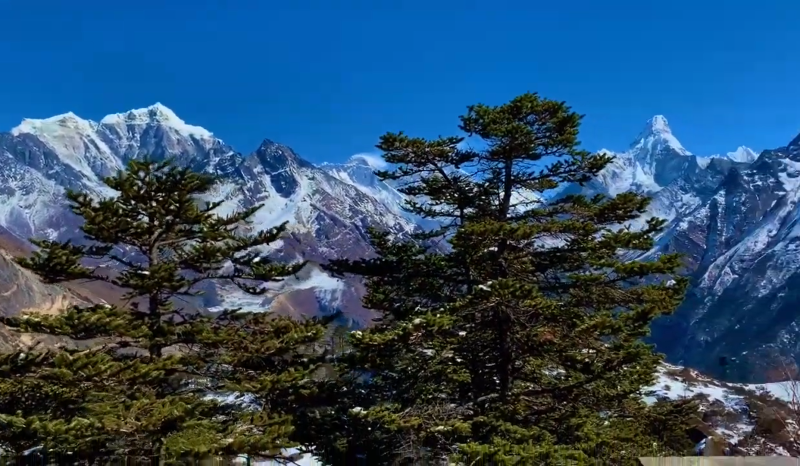
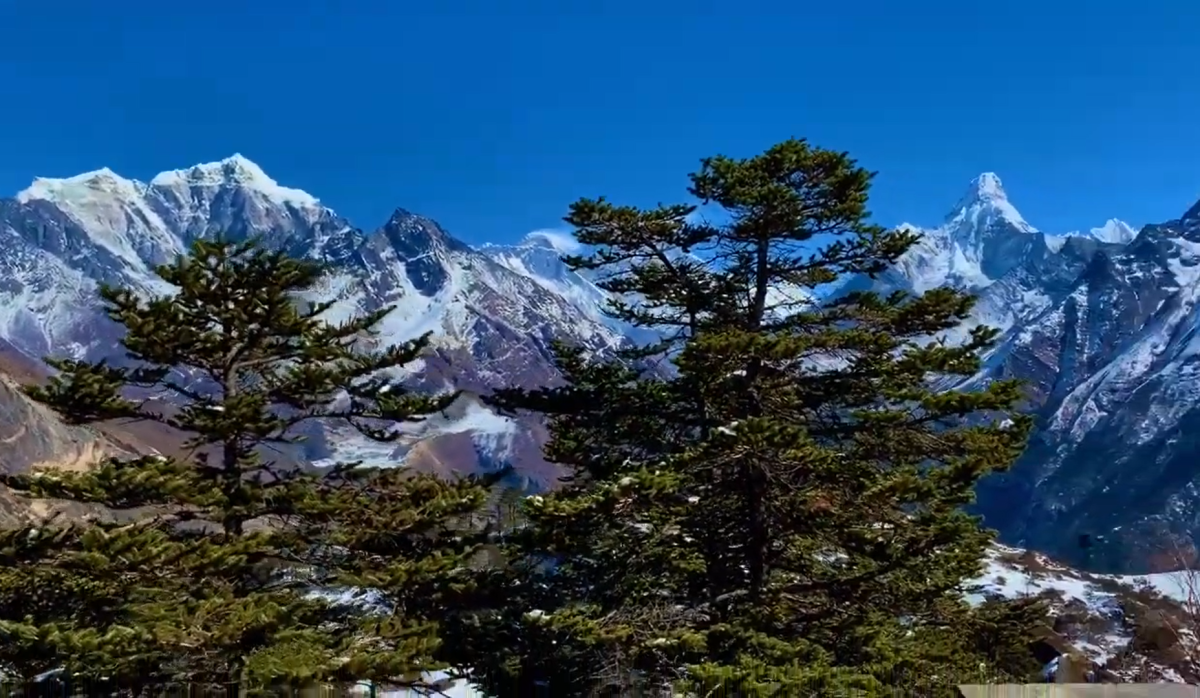
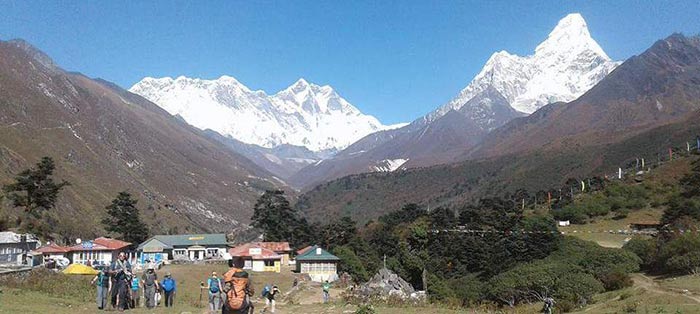
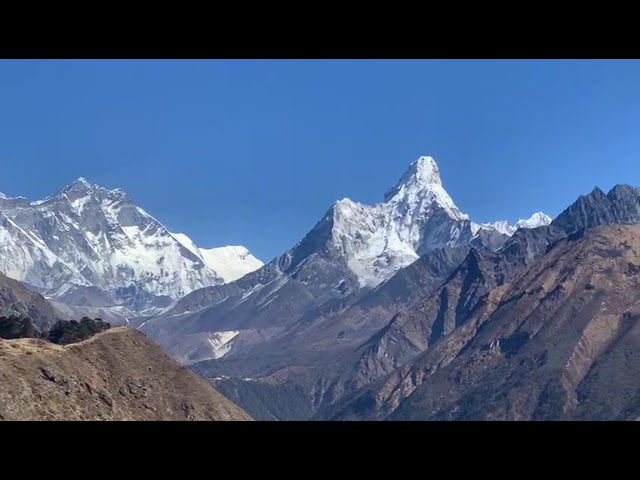
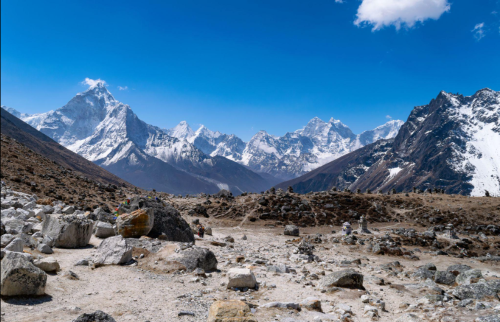
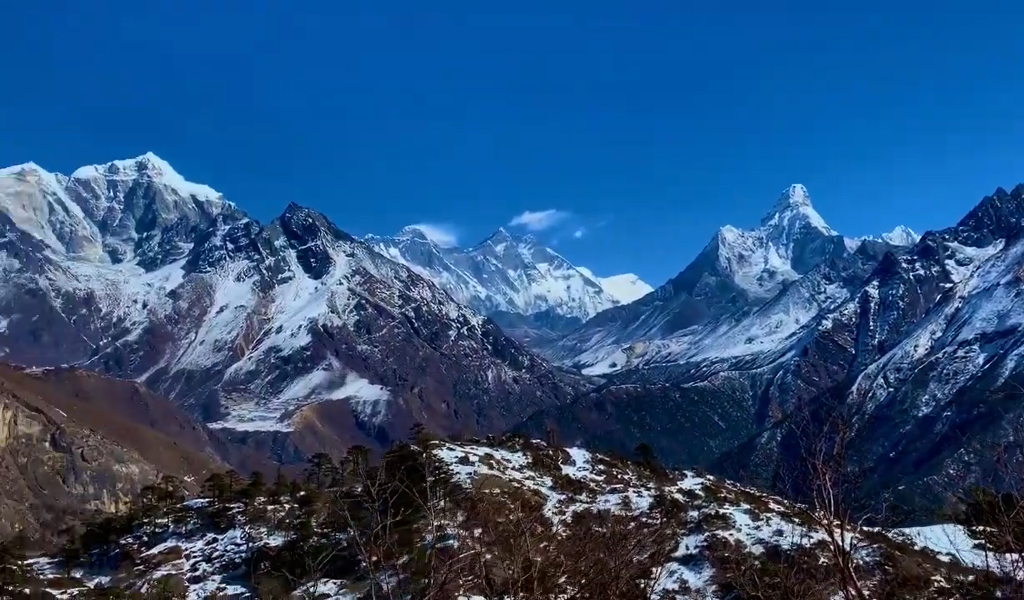
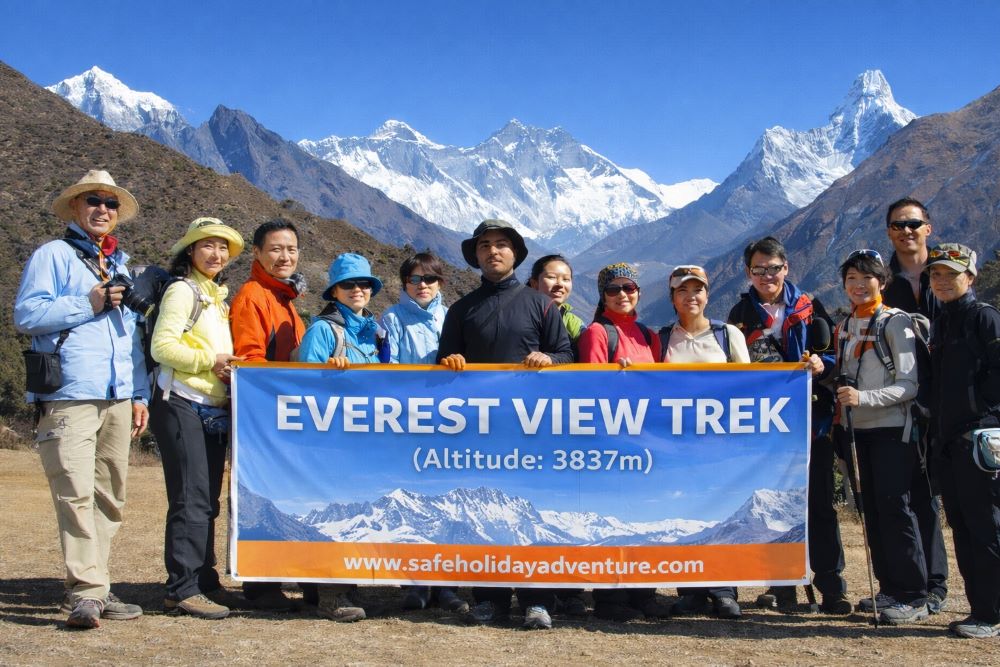
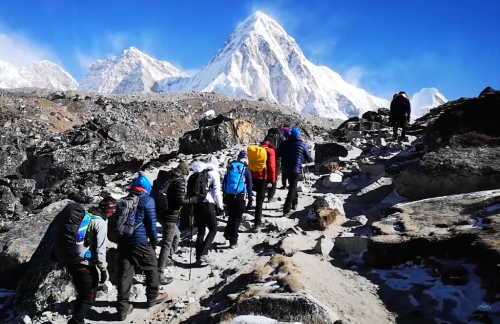
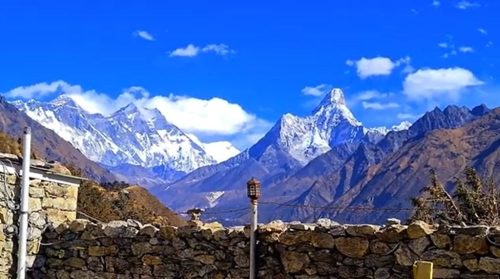
Panoramic Himalayan Views – Enjoy spectacular views of Mount Everest, Lhotse, Ama Dablam, and many other snow-capped Himalayan peaks.
Sagarmatha National Park Trekking – Walk through Sagarmatha National Park, a UNESCO World Heritage Site known for its rich biodiversity and mountain scenery.
Sherpa Culture Experience – Discover the unique Sherpa culture, traditions, lifestyle, and warm hospitality in local mountain villages.
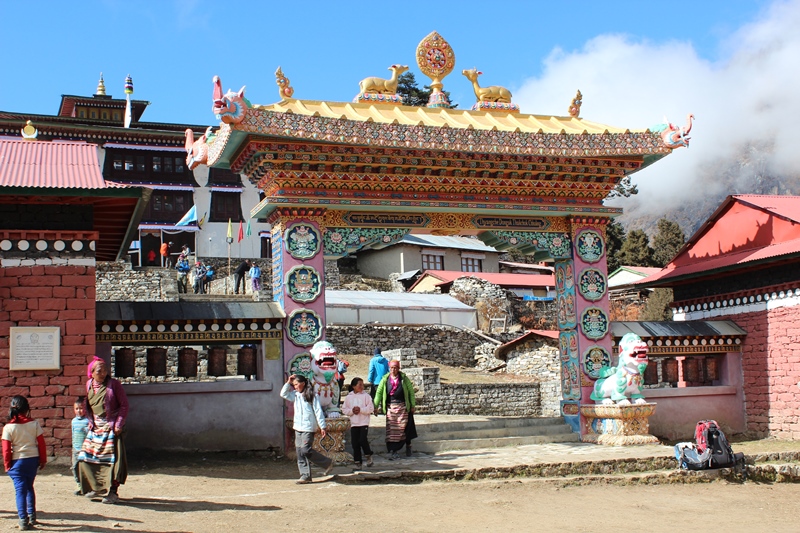
Visit Tengboche Monastery – Explore Tengboche Monastery, one of Nepal’s most famous and impressive Buddhist monasteries.
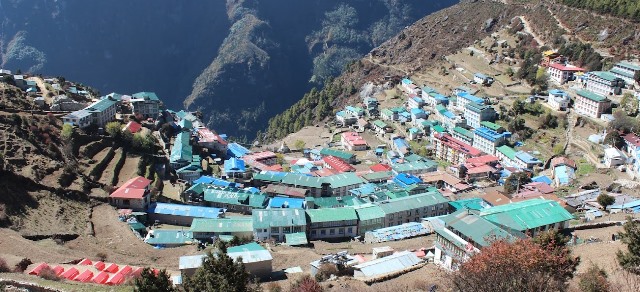
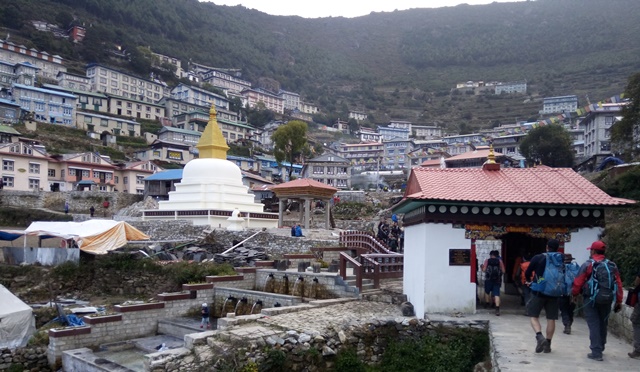
Explore Namche Bazaar – Visit the vibrant Namche Bazaar, the main trading center and gateway to the Everest region.
Hike to Khumjung and Khunde – Explore these beautiful Sherpa villages and visit the school and hospital established by Sir Edmund Hillary.
Dudh Koshi River Scenery – Admire the stunning Dudh Koshi River, known for its crystal-clear turquoise waters and dramatic valleys.
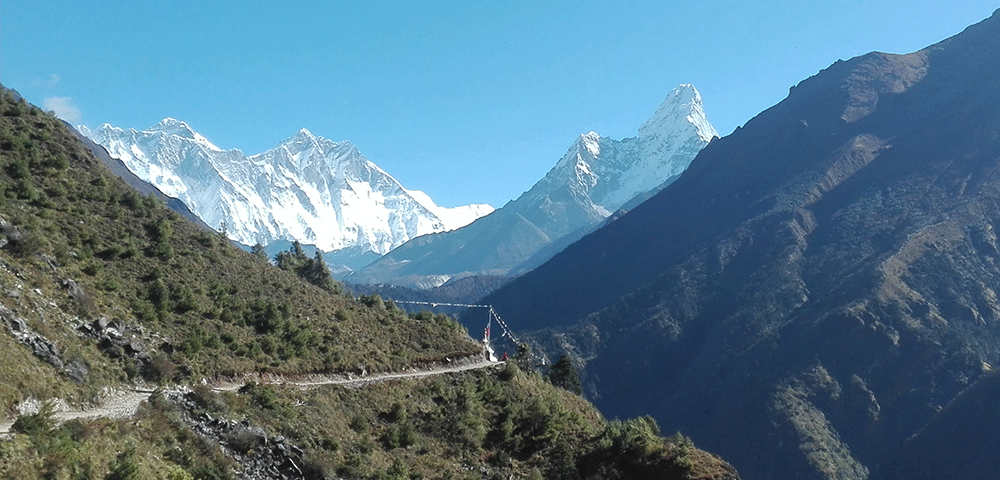
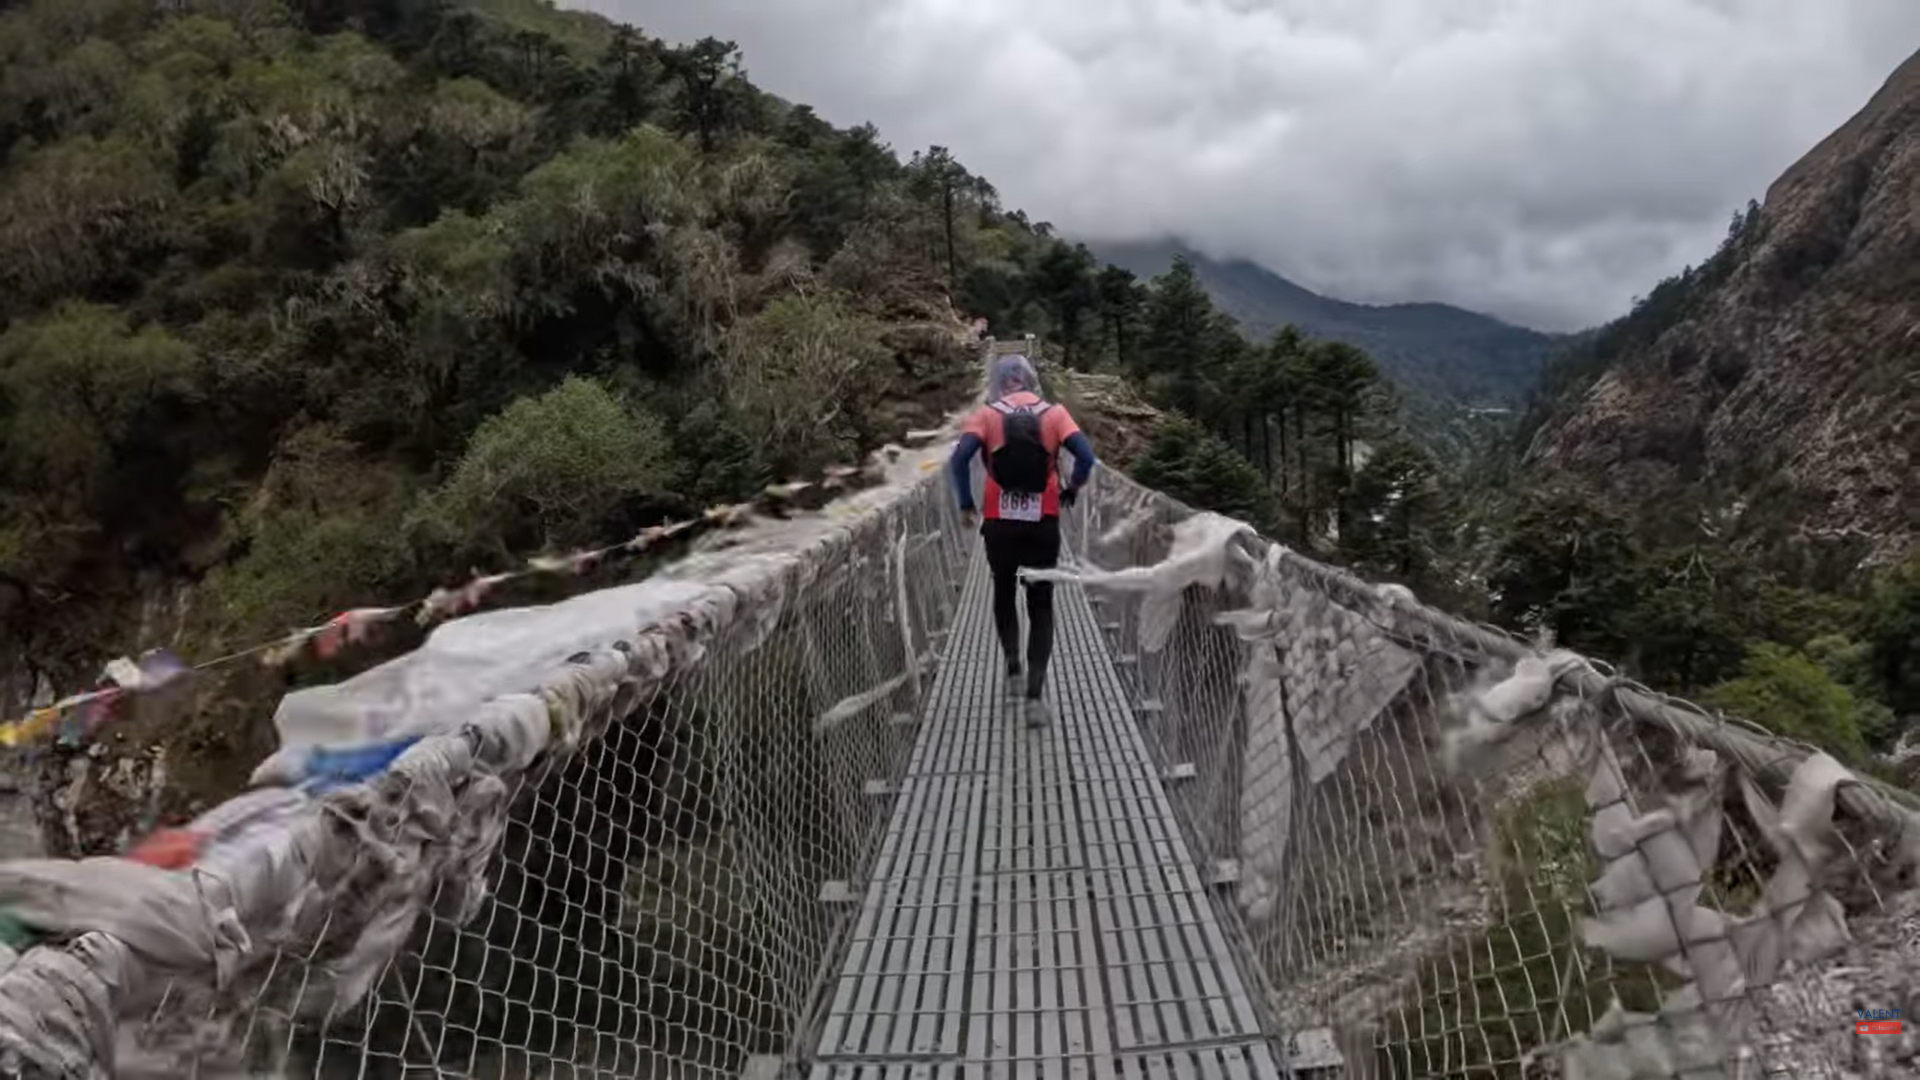
Cross the Famous Hillary Bridge – Walk across the iconic Hillary Suspension Bridge while enjoying breathtaking mountain views.
Comfortable Tea House Stay – Experience cozy tea houses and mountain lodges, along with delicious local meals and genuine Himalayan hospitality.
Syangboche Hill Viewpoint – Hike to Syangboche Hill for a breathtaking panoramic view of the entire Khumbu region and surrounding peaks.
Short and Easy Everest View Trek Introduction: Overview
The Short Everest View Trek is popular in the Everest region and is designed for those who want to experience the beauty of the Himalayas but don’t have enough time or the physical ability to do a longer and more strenuous trek. This trek can be done within 4 to 5 days.
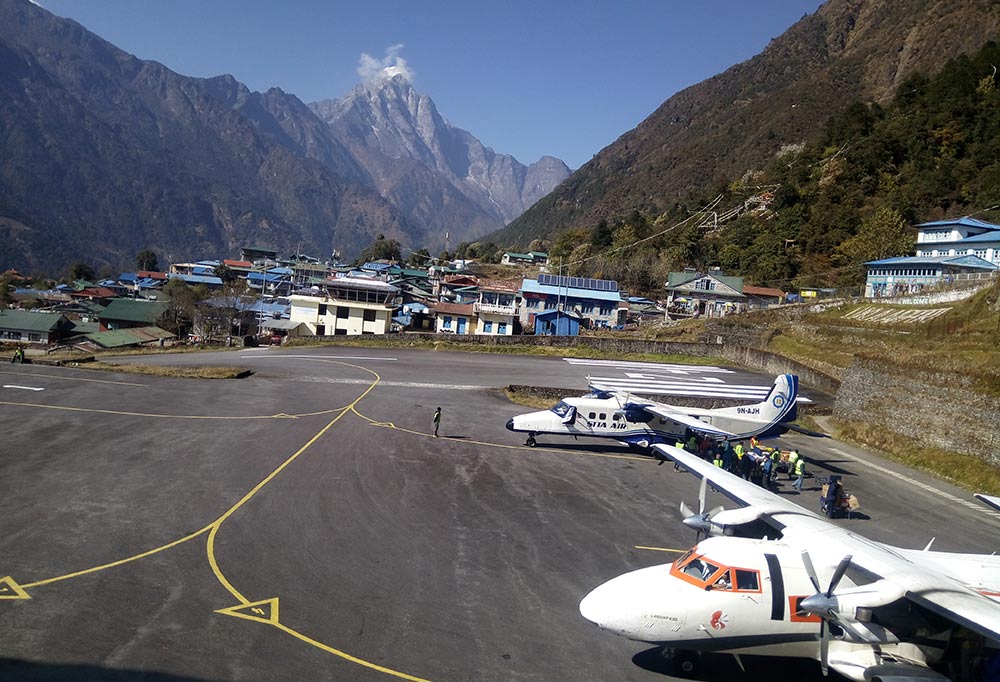
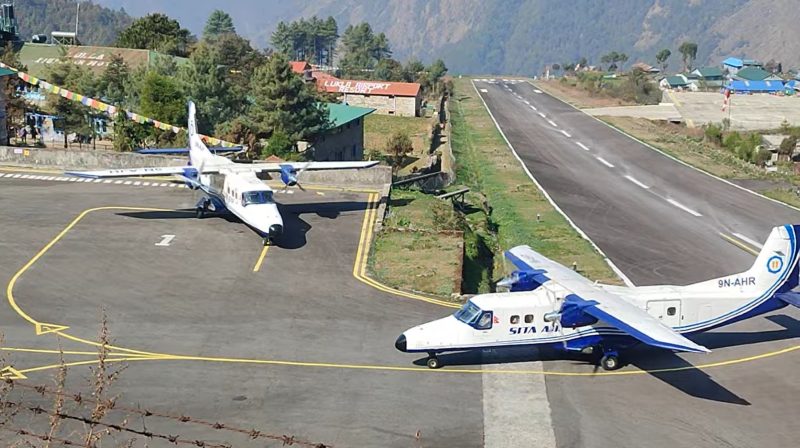
The Short Everest View Trek begins with a scenic flight from Kathmandu to Lukla (2,860m), the gateway to the Everest region. From Lukla, the trail follows the beautiful Dudh Koshi Valley to Namche Bazaar (3,450m), the vibrant Sherpa town that serves as the main hub for trekkers heading to Everest Base Camp, the Gokyo Lake Trek the Three Passes Trek, and Island Peak.
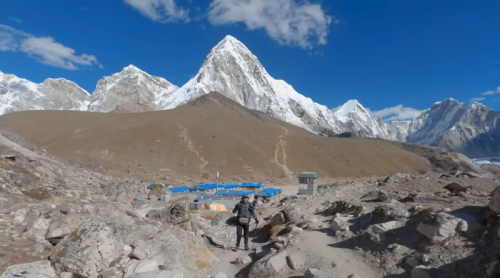
Namche Bazaar is famous for its lively markets, rich Sherpa culture, and spectacular mountain scenery. From here, trekkers can enjoy stunning views of Mount Everest, Lhotse, Thamserku, and the iconic Ama Dablam, making it one of the major highlights of the Everest region.
After spending a day in Namche Bazaar to acclimatize, you will continue your trek to Tengboche, a small village famous for its beautiful monastery. The views of the Himalayas from Tengboche are simply breathtaking. From Tengboche(3,780m), you will trek to Khumjung, where you can visit the Khumjung monastery and learn about the local Sherpa culture.
After a day in Khumjung, you will trek back to Namche Bazaar and Lukla. From Lukla, you will take a flight back to Kathmandu. Throughout the trek, you will have the opportunity to experience the beautiful culture and natural beauty of the Everest region, a unique blend of mountains, glaciers, and forests.
The Short 8-day Everest View Trek is perfect for anyone wanting a shorter and easier trek in the Everest area. It’s great for families with kids or those with limited time. Besides seeing the highest mountain in the world, you can experience local life, learn about their culture and traditions.
Short Everest View Trek- 6 Days
Why the Short Everest View Trek Is the Perfect Trip for You:
Easy and Short Adventure – A quick Himalayan trek that can be completed in a limited time without long expedition demands.
Stunning Everest Views – Offers breathtaking sights of Mount Everest, Ama Dablam, and surrounding peaks.
Beginner-Friendly Route – Suitable for first-time trekkers with moderate fitness levels.
Low Altitude Compared to Base Camp – Reduced risk of altitude sickness makes it safer and more comfortable.
Rich Sherpa Culture Experience – Explore traditional villages like Namche Bazaar and experience authentic Himalayan lifestyle.
Well-Developed Trail – Comfortable teahouses, food options, and good trekking infrastructure.
Budget Friendly Option – More affordable than longer treks like Everest Base Camp or Gokyo Lakes Trek.
Great for Limited Time Travelers – Perfect for those who want the Everest experience in a short vacation.
Short Everest View Trek: Preparation Guide, Tips & Essentials
The Short Everest View Trek is a moderate Himalayan adventure that requires basic preparation for altitude, weather, and walking conditions. Trekkers should focus on building stamina through regular walking or light cardio before the trip. Packing essentials include layered clothing, sturdy trekking boots, a warm jacket, sunscreen, and a reusable water bottle. Proper travel insurance and a basic first-aid kit are also highly recommended for a safe journey in the Everest region.
During the trek, proper acclimatization is important, especially around Namche Bazaar (3,450m). Drink plenty of water, maintain a steady pace, and avoid rushing to higher altitudes. Hiring a guide or porter can enhance safety and comfort while supporting local communities. The weather can change quickly, so always be prepared for cold mornings and windy afternoons while enjoying stunning views of Mount Everest and surrounding peaks.
Best Months to Trek the Everest View Trek:
The best time to go on the short and easy Everest view trek in Nepal is from September to November and March to May.
These months have generally clear and stable weather, providing the best conditions for trekking and mountain views. The monsoon season is from June to August. The winter months of December to February are not ideal because of heavy snowfall and cold temperatures.
In September, October, and November, the weather is usually clear and sunny, the temperature is moderate, and the mountain view is excellent. The rhododendron and other flowers are in full bloom, making the forest colorful and beautiful.
In March, April, and May, the temperature is warmer than in the autumn, and the skies are also clear. The days are longer, and the views of the mountains are also excellent. However, there may be some occasional rai,n and the trail can get muddy.
Tip to prevent Acute Mountain Sickness (AMS) during the Everest View Trek:
Go up slowly: Take your time to acclimatize by ascending gradually and taking rest days as per the trek itinerary.
Stay hydrated: Drink plenty of water to prevent dehydration, which can worsen altitude sickness symptoms.
Avoid alcohol: Alcohol can dehydrate the body and exacerbate symptoms of AMS.
Eat well: Maintain a balanced diet with carbohydrates, protein, and healthy fats to sustain energy levels and prevent altitude sickness.
Rest and acclimatize: Allow your body time to adjust to the altitude by taking it easy during the first few days of the trek.
Stay warm: Dress in layers to stay warm, as cold temperatures can aggravate symptoms of altitude sickness.
Avoid smoking: Smoking reduces oxygen levels in the body, making AMS symptoms worse.
Listen to your body: Pay attention to how you feel and communicate any symptoms of AMS to your guide promptly.
Descend if necessary: If symptoms persist or worsen despite preventive measures, descend to a lower altitude immediately.
Following these guidelines can help ensure a safer and more enjoyable trekking experience in the Everest region, minimizing the risk of altitude sickness.
Why choose the Everest View trek?
Suitable for Everyone – Ideal for families, kids, students, and budget trekkers.
Low Altitude Risk – Only about 5% chance of altitude sickness.
Easy Access – Just 2 days of ascent from Lukla.
Comfortable Accommodations – Up to Namche Bazaar, with options for all budgets.
Breathtaking Views – See Mount Everest, Lhotse, and other Himalayan peaks up close.
Affordable Option – Cheaper than Everest Base Camp and Gokyo Lakes treks.
Convenient Finances – Visa cards accepted, with money exchange and ATMs available in Namche Bazaar and Lukla.
𝗘𝘃𝗲𝗿𝗲𝘀𝘁 𝗩𝗶𝗲𝘄 𝗧𝗿𝗲𝗸 – 8 Days Outline ItineraryOutline Itinerary
Day 1: Arrival in Kathmandu, transfer to hotel – Altitude: 1,400 m / Trek distance: N/A / Trek hours: N/A=
Day 2: Fly to Lukla and trek to Phakding – Altitude: 2,652 m / Distance: 8 km / Trek hours: 3–4 hrs
Day 3: Trek to Namche Bazaar – Altitude: 3,440 m / Distance: 10 km / Trek hours: 5–6 hrs
Day 4: Rest day at Namche Bazaar (acclimatization & optional hike to Everest View Hotel) – Altitude: 3,440 m / Distance: 5 km (optional) / Trek hours: 2–3 hrs
Day 5: Trek to Tengboche – Altitude: 3,870 m / Distance: 10 km / Trek hours: 5 hrs
Day 6: Trek back to Namche Bazaar – Altitude: 3,440 m / Distance: 9 km / Trek hours: 4–5 hrs
Day 7: Trek back to Lukla – Altitude: 2,860 m / Distance: 18 km / Trek hours: 6–7 hrs
Day 8: Fly back to Kathmandu – Altitude: 1,400 m / Distance: N/A / Trek hours: N/A
Flight to Lukla from Ramechhap (Manthali) Airport – Peak Season Notice
During peak trekking season (March–May and September–November), flights from Ramechhap (Manthali) Airport to Lukla are highly preferred to avoid delays at Kathmandu. The flight is about 25–30 minutes, offering stunning views of the Himalayas. Early booking is recommended as flights can be fully booked or affected by weather, especially in the morning.
Short Everest View Trek Serivices:
Airport and hotel transfers: Pick-up and drop-off service between the airport and hotel in Kathmandu.
Accommodation in Kathmandu: 2 nights’ hotel stay in Kathmandu with daily breakfast included.
Meals during the trek: Three meals a day (breakfast, lunch, and dinner), with one main course served at each meal.
Trekking permits: All required permits including Khumbu Pasang Lhamu Rural Municipality Entry Permit and Sagarmatha National Park Entry Permit.
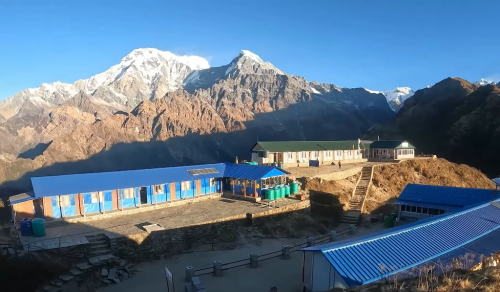
Accommodation on trek: Teahouse lodging throughout the trekking route.
Flights: Kathmandu–Lukla–Kathmandu (or Ramechhap–Lukla–Ramechhap, depending on season and schedule).
Transportation: Private transfer between hotel and domestic airport in Kathmandu, both before and after the trek.
Professional guide: Highly experienced, licensed trekking guide for the entire journey.
Emergency support: Arrangement of emergency helicopter evacuation service (covered by your travel insurance policy).
Group assistance: One assistant guide provided for groups larger than 7 trekkers.
Meals in Kathmandu: Lunch and dinner in Kathmandu are not included in the package.
Visa and entry costs: Nepal entry visa fee and any personal travel-related expenses are not covered.
Travel insurance: Your trip insurance must be arranged and paid for separately.
International flights: Airfare for international flights to and from Nepal is not included.
Personal expenses: Any personal costs, bar bills, shopping, or additional spending are excluded.
Drinks and snacks: Hot and cold drinks, bottled water, chocolates, snacks, and alcoholic beverages are not included.
Desserts: Desserts after meals are not part of the package.
Tipping: Tips for the guide, porter, and driver are not included and are expected separately.
Extra baggage charges: Any luggage over 15 kg on Lukla flights must be paid by the traveler.
Emergency transport: Costs for helicopter rescue or any emergency transport (horse, porter, etc.) are not included.
Dates and Availability Departures
All our published dates are guaranteed departures. We also provide customized departures tailored to your travel plans.
My name is Oliver Brown, and I traveled from the United Kingdom to experience the Everest Base Camp Trek. It was one of the most memorable adventures of my life. Our guide, Santosh, and our porter, Dupka, were very helpful throughout the journey. Everything was well organized, and the Himalayan views were breathtaking. A fantastic experience that I will always remember!
James Wilson Australia | march, 2025
An Unforgettable EBC Trek Experience
I am James Wilson from Australia, and I trekked to Everest Base Camp with my family. The experience was amazing from beginning to end. Our guide Santosh took excellent care of us, and our porter Muskan was hardworking and helpful. The stunning mountains, Sherpa villages, and peaceful trails made this an incredible adventure.
I highly recommend this trek!
Erick Mollel Canada | October, 2025
Experience the EBC Trek Without the Lukla Flight
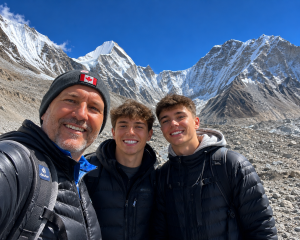
My name is Erick Mollel, and I completed the Everest Base Camp Trek with my two sons from Canada. It was an unforgettable adventure filled with breathtaking Himalayan scenery, beautiful Sherpa villages, and incredible mountain views.
Our guide, Santosh, was very professional, friendly, and supportive throughout the journey. Our porter, Dupka, was also hardworking and helpful, making our trek much easier and more enjoyable.
We truly enjoyed every moment of this incredible journey. I highly recommend this trek to anyone who wants to experience the beauty of the Everest region without taking the Lukla flight. A wonderful experience and memories that my sons and I will always cherish! 🙏
Genaral Trip InfoInfos
Everest View Trek Cost:
The cost of the Short and Easy Everest View Trek can vary depending on several factors such as season, type of accommodation, and whether you choose a guided trek or independent trekking. These elements play a major role in determining the overall budget, especially in popular trekking routes around the Everest region.
On average, a guided Everest View Trek package with a reputable trekking company usually ranges from $700 to $1500 USD per person for around 8–10 days. This price generally includes permits, meals, accommodation, and the services of an experienced guide and porter, making it a convenient option for first-time trekkers.
For independent trekkers, the overall cost can be lower since you are not paying for a full package. However, you will still need to cover permits, food, lodging, and transport, and these expenses can add up depending on your travel style. Prices may also fluctuate, so it is always recommended to compare different options and plan your budget carefully before starting the trek.
What to pack for the Short and Easy Everest View Trek?
1. Clothing (Layering System is Key)
Pack light but smart for changing mountain weather:
Base layers (thermal top & bottom)
Fleece jacket or warm sweater
Down jacket (lightweight but warm)
Waterproof jacket & pants
Trekking pants (2–3 pairs)
Quick-dry t-shirts
Warm hat / beanie
Sun hat / cap
Gloves (light + warm pair)
Wool socks (3–5 pairs)
2. Footwear & Trekking Gear
Comfort and stability are very important:
Broken-in trekking boots (water-resistant)
Light camp shoes or sandals
Trekking poles
Gaiters (optional but useful in mud/snow)
3. Backpack & Essential Accessories
Keep your load balanced and light:
30–40L day backpack
Rain cover for backpack
Water bottles/hydration bladder
Headlamp with extra batteries
Sunglasses (UV protection)
Towel (quick-dry)
Dry bags / zip locks for protection
4. Personal Items & Health Kit
Stay safe and comfortable on the trail:
Basic first aid kit
Altitude sickness tablets (if needed)
Sunscreen & lip balm
Wet wipes/hand sanitizer
Toiletries (toothbrush, etc.)
Personal medications
5. Documents & Money
Don’t forget essentials for permits and payments:
Passport & copies
Trekking permits (handled if guided)
Cash in Nepalese Rupees
Insurance details (recommended for trekking)
Everest View Trek Difficulty – How Hard Is It?
The Everest View Trek is considered an easy-to-moderate trekking route in the Everest region, making it suitable for beginners, families, and travelers with limited trekking experience. The trail mainly involves well-established paths with gradual ascents, and the highest point (around 3,880m at Everest View Hotel or Namche Bazaar viewpoint) is relatively low compared to other Himalayan treks, which significantly reduces the risk of serious altitude sickness.
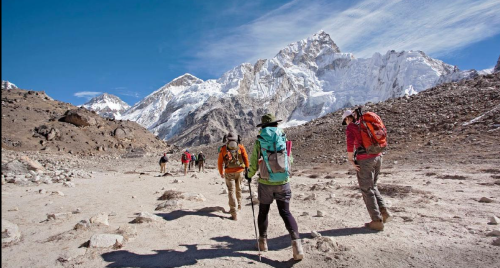
Although it is not physically demanding, you should still be prepared for daily walking of 4–6 hours, some uphill sections, and uneven terrain. With basic fitness, proper pacing, and short acclimatization stops in places like Namche Bazaar, most trekkers complete the journey comfortably.
Are there facilities for Wi-Fi, charging batteries, hot showers, and communication?
The availability of Wi-Fi, charging facilities, hot showers, and communication services during the Short and Easy Everest View Trek may vary depending on the itinerary and the trekking agency you choose. In the remote areas of the trek, these services are often limited, but in main villages such as Namche Bazaar, Tengboche, and Phakding, you may find Wi-Fi and charging points available at an extra cost. However, Wi-Fi is not always stable or reliable, and charging facilities may also be inconsistent.
As for hot showers, they are available in some teahouses for an additional fee. Communication facilities, including mobile network and internet access, can be weak or spotty in higher and remote regions, so it is not recommended to fully rely on them.
It is always best to check with your trekking agency in advance and consider carrying a power bank or portable charging device for backup. In remote trekking situations, some trekkers also carry a satellite phone for emergency communication.
Are Guide and Porter compulsory for the Everest view trek or solo is fine?
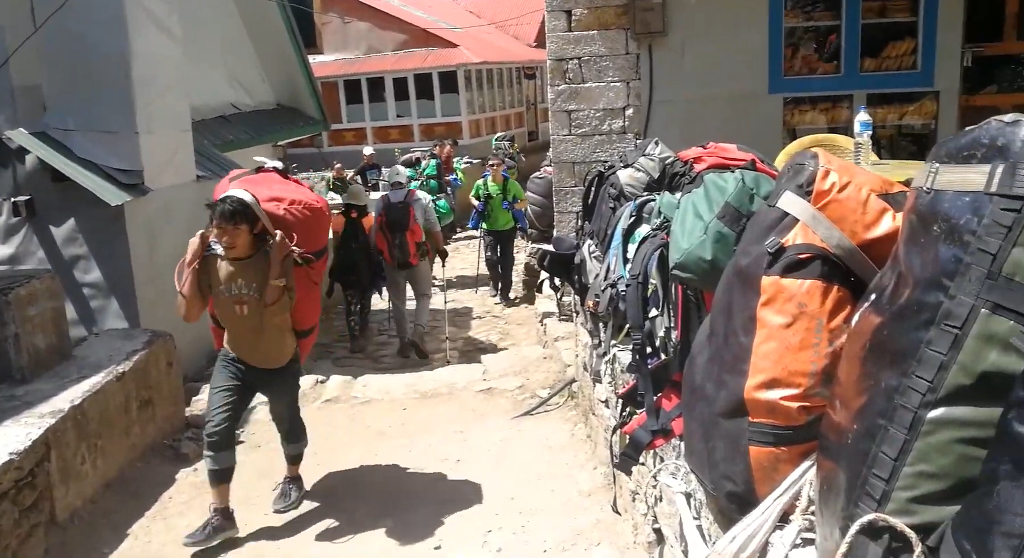
It is highly recommended to hire a guide or porter for the Short and Easy Everest View Trek, especially if it is your first time in the Everest region. A professional guide not only ensures your safety, but also helps you navigate the trekking route, manage permits and logistics, and provides valuable information about the culture, history, and environment of the Himalayas. They also assist with communication with local people, making your journey smoother and more meaningful.
A porter can also be hired to carry your backpack and trekking gear, which significantly reduces your physical load and makes the trek much more comfortable and enjoyable. This is especially helpful on uphill sections and during longer walking days.
However, hiring a guide or porter is not compulsory on the Everest View Trek, and some experienced trekkers may choose to go independently (solo). But it is important to remember that even though it is considered an easy trek, it still takes place in high-altitude and remote Himalayan terrain, where conditions can change quickly.
Before deciding to trek solo, it is essential to carefully consider the risks, ensure you have proper trekking experience, navigation skills, and equipment, and also check the latest local rules and regulations regarding independent trekking in the Everest region.
Short Everest View Trek Useful Tips:
Get good quality trekking gear: Invest in good quality trekking shoes, a waterproof jacket and pants, warm layers, a good quality backpack, and a good quality sleeping bag.
Get travel and medical insurance: Make sure you have a good travel insurance policy that covers trekking and emergency evacuation. It’s also recommended to check if the insurance policy covers altitude sickness.
Get a health check-up: Consult with your doctor before embarking on the trek and make sure you are fit to trek at high altitude.
Pack the right clothes and equipment: Pack appropriate clothing and equipment for the trek, including warm layers, waterproof clothing, a good quality sleeping bag, a headlamp, a water bottle, sunscreen, sunglasses, and a hat.
Get familiar with altitude sickness: Learn about the symptoms and prevention of altitude sickness and how to deal with it in case you or someone in your group experiences it.
Get the necessary permits: Make sure you have the necessary permits for the trek, such as a TIMS card and a Sagarmatha National Park permit.
Learn some basic Nepali phrases: Learn some basic Nepali phrases to communicate with local people and guides.
Respect the local culture: Be respectful of the local culture and customs, and follow the Leave No Trace principles to minimize your impact on the environment.
Be flexible: Be prepared for unexpected changes in the itinerary due to weather or other factors.
Duration : 30 Minute Drive Elevation : Kathmandu (1400 m)
Upon reaching Kathmandu Airport, our representative will extend a warm welcome to you and accompany you to your designated hotel. Take the remainder of the day to unwind, rejuvenate, and make necessary preparations for the upcoming trekking adventure.
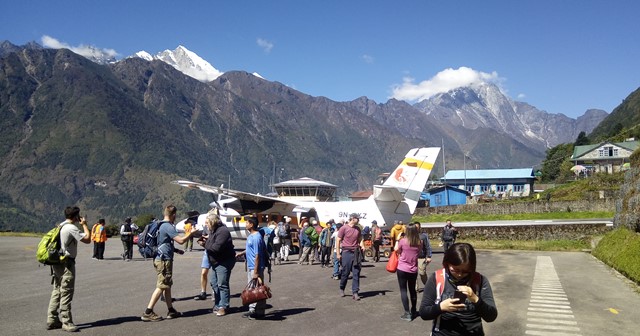
Following an early breakfast, we will arrange your transfer to the domestic airport for the short, scenic flight to Lukla. The 30-minute flight offers breathtaking views of the majestic Himalayas. Upon landing in Lukla, you will be introduced to the rest of your trekking crew, and your exciting journey to Phakding will commence.
Wandering through enchanting rhododendron and pine forests, the trail unveils its natural beauty throughout the 3–4 hour trek to Phakding. Embrace the serenity of the surroundings and relish the beginning of your memorable adventure.
The trek from Phakding to Namche Bazaar (3,440m) is one of the most important and exciting parts of the Everest region journey. It is also the day when the trail becomes much steeper and more challenging compared to earlier walks.
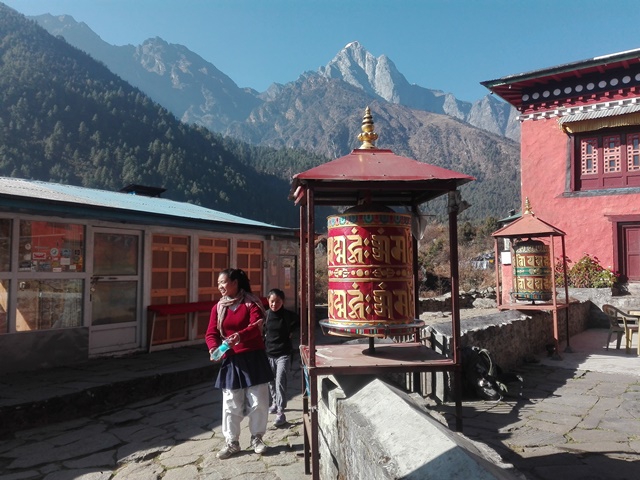
You start your morning in Phakding, following the trail alongside the Dudh Koshi River. The path is peaceful at first, passing through small villages, pine forests, prayer wheels, and suspension bridges. You will cross several long hanging bridges, including bridges decorated with prayer flags. The river stays on your side most of the way, and the sound of flowing water follows you as you walk.
After a few hours, you reach Monjo, where the entrance to Sagarmatha National Park is located. Here, permits are checked, and the trail continues downward slightly before entering a narrow valley section. Soon after, you arrive at Jorsalle, the last small settlement before the big climb. This is a good place to rest and have lunch because there are no villages ahead for a while.
From Jorsalle, the real challenge begins. The trail follows the river for a short distance and then leads to the famous Hillary Suspension Bridge, one of the highest and most iconic bridges on the trek. After crossing it, the path turns steep and begins a long uphill climb.
This final section to Namche is tough. The trail goes up continuously through pine forests with many stone steps. You walk slowly because the altitude becomes noticeable and the climb is demanding. Along the way, you may get your first distant view of Mount Everest, depending on the weather.
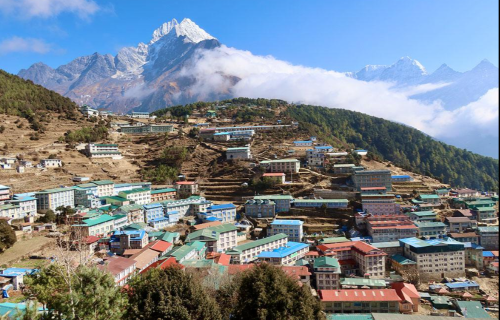
After several hours of steady uphill walking, you finally reach Namche Bazaar, a colorful mountain town built in a natural amphitheater. It is the main trading hub of the Khumbu region, filled with lodges, bakeries, shops, and trekkers from around the world.
This day is challenging, but reaching Namche gives a strong sense of achievement and marks a major milestone in the Everest trek.
Today is a special rest day dedicated to helping your body adjust to higher altitude. It’s essential to acclimatize properly to ensure a safe and enjoyable trek. During this rest day, you have the freedom to explore the vibrant Namche Bazaar. You can take a leisurely stroll through the local market, where you’ll find a variety of interesting items and interact with friendly locals.
For those seeking a more adventurous experience, you can embark on a day hike to nearby villages or visit ancient monasteries nestled amidst the scenic landscapes. These activities not only provide breathtaking views but also offer insight into the rich cultural and spiritual heritage of the region.
Remember to take it easy and listen to your body while acclimatizing. Enjoy this day to the fullest, soak in the incredible surroundings, and prepare yourself for the upcoming phases of the trek.
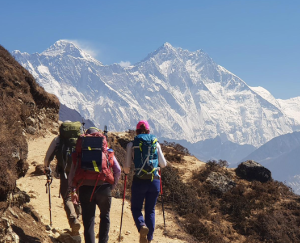
The trek from Namche Bazaar (3,440m) to Tengboche (3,867m) begins with a gentle ridge walk offering clear views of Everest (8,848.86m), Lhotse (8,516m), Nuptse (7,861m), and Ama Dablam (6,812m). The trail passes through pine forests and small settlements like Kyangjuma.
After a gradual descent, you reach Phunki Thenga (3,250m), a riverside village on the Dudh Koshi River, often used for lunch and rest. The trail then crosses a suspension bridge and enters a steep forest climb.
The final uphill section leads to Tengboche (3,867m), home to the famous monastery. From here, panoramic views of Ama Dablam, Everest, Lhotse, and surrounding peaks make it one of the most rewarding days of the Everest View Trek.
The trek back from Tengboche (3,867m) to Namche Bazaar (3,440m) follows the same scenic route in reverse. You start by descending through the forest trails, passing the peaceful surroundings of the Tengboche Monastery area with views of Ama Dablam (6,812m), Everest (8,848.86m), and Lhotse (8,516m) behind you.
The trail then goes down to Phunki Thenga (3,250m) along stone steps and dense rhododendron and pine forests. After crossing the Dudh Koshi River via a suspension bridge, you begin a steady climb back up toward Kyangjuma (around 3,550m), where the valley opens up again with wide mountain views.
From Kyangjuma, the path continues as a gentle ridge walk back to Namche Bazaar (3,440m). You enjoy final panoramic views of the Everest range before arriving back in the busy Sherpa town, marking the end of this beautiful section of the trek.
The trek from Namche Bazaar (3,440m) to Lukla (2,860m) begins with a long descent through pine forests, stone steps, and several suspension bridges over the Dudh Koshi River. You pass familiar villages like Jorsalle and Monjo, re-entering the lower Everest region with easier walking conditions and warmer air.
After crossing multiple bridges and gentle uphill sections, you gradually reach Phakding and continue the final stretch to Lukla (2,860m). This marks the end of the trek, where you celebrate the successful completion of your Everest journey with unforgettable memories of the Himalayas.
Duration : 30 Minute Elevation : Kathmandu (1400 m)
Following breakfast, you’ll catch a flight back to Kathmandu. Once you arrive, we’ll arrange for your transfer back to your hotel. Relax and unwind after your journey as you settle back into your accommodation in Kathmandu.
Accommodation : Hotel in Kathmandu Meals : Breakfast
Everest View Trek Itinerary Note:
The Everest View Trek can be fully customized based on your needs, allowing flexibility in itinerary, duration, and pace. It is a private trip, so you can travel comfortably without group pressure and enjoy each moment at your own time. This trek is designed to match your preferences, schedule, and budget for a more personal Himalayan experience.
Short Everest View Trek- 6 Days FAQs
The Everest View Trek requires filtered, Bottled or boiled water.
It typically lasts for 4-5 days.
The highest point reached on the trek is usually around 3,800 meters- Tengboche.
The Everest View Trek may show musk deer and Himalayan birds.
You walk about 4–6 hours daily in the Everest View Trek.
Yes, the Everest View Trek is beginner-friendly.
Basic teahouses or lodges are provided for accommodation during the trek.
Yes, but charging may cost extra in the Everest View Trek.
Yes, insurance is recommended for the Everest View Trek.
The Everest View Trek has cool days and cold nights.
Altitude sickness is a possibility at high altitudes, but the trek is designed to acclimatize gradually and minimize the risk of altitude sickness.
Yes, but the Everest View Trek will be colder and snowy.
Yes, the Everest View Trek can be done solo but guided is safer.
For the Everest View Trek, you need two main fees/permits:
Sagarmatha National Park Entry Permit (mandatory)
Khumbu Pasang Lhamu Rural Municipality Entry Fee (local government fee)
Refund & Cancellation Policy
Booking requires 20% non-refundable deposit (Nepal) or 100% upfront (Tibet/Bhutan).
Remaining payment due before the trip or on arrival (trip-dependent).
Cancellation charges:
31+ days: 20%
16–30 days: 45%
8–15 days: 75%
7 days or less: 90%
Prices may change due to flights, taxes, or exchange rates.
Trip changes are allowed, but extra costs apply.
If the company cancels, a full refund, except for unavoidable events (some costs deducted).
Good health and travel insurance are mandatory.
No refund if removed for unsafe or illegal behavior.
Travel involves personal risk, which the client accepts.